How to Install a Float Switch: Step-by-Step Installation Guide
Installing a float switch correctly is essential for reliable automatic pump operation and water-level control. A properly installed float switch should move freely, switch at the required water level, remain protected from mechanical damage and provide a reliable signal to the pump or control circuit.
This guide explains how to install a float switch, including positioning, cable routing, basic NO/NC wiring considerations, testing, common installation mistakes and specific considerations for dewatering pump applications.
Safety note: Always disconnect electrical power before working on a pump or float-switch circuit. Electrical connections involving mains voltage should be carried out by a qualified electrician and according to the pump, control-panel and float-switch manufacturer’s instructions.
Quick Answer: How Do You Install a Float Switch?
To install a float switch, first switch off the electrical supply and identify the float switch and its wiring configuration. Select a mounting position where the float can move freely without hitting the pump, tank wall or other equipment. Secure and route the cable properly, make the electrical connection according to the required NO/NC configuration and protect cable-entry points from moisture. Finally, manually test the float and verify that the pump starts and stops at the intended water levels.
Float switch installation in 9 steps
- Switch off the electrical supply.
- Identify the float switch and wiring configuration.
- Select the correct mounting position.
- Allow sufficient float movement.
- Route and secure the cable.
- Connect the float switch correctly.
- Protect the cable entry and electrical connections.
- Check the float’s operating range.
- Restore power and test the pump.
What Is a Float Switch and What Does It Do?
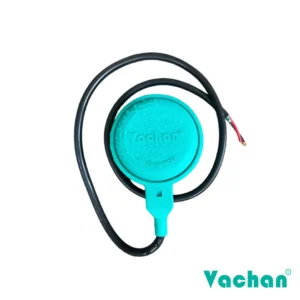
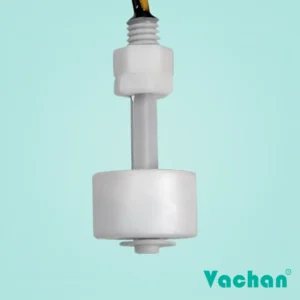
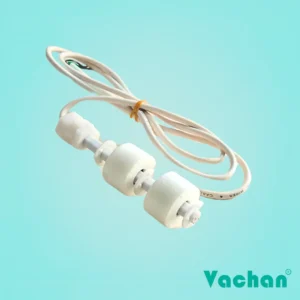
A float switch is a liquid-level sensing device used to detect changes in the level of water or another compatible liquid. As the liquid level rises or falls, the float moves and changes the state of an internal electrical switch.
Float switches are commonly used for:
- Automatic pump control
- Water-level monitoring
- Sump pumps
- Dewatering pumps
- Sewage and wastewater systems
- Water tanks
- Drainage systems
- Industrial liquid-level control
Depending on the application and switch configuration, the float can be used to signal when a pump should start, stop or change operating status.
For pump applications, the correct installation is just as important as selecting the correct float switch. A switch that is technically suitable but unable to move freely may not provide reliable pump control.
How Does a Float Switch Work?
A float switch uses the movement of a buoyant float to operate an internal electrical switching mechanism.
As the water level changes, the float moves through its operating range. At a predetermined position, the internal switch changes state. This signal can then be used by the pump’s control circuit.
For example:
Water level rises → Float moves upward → Switch changes state → Control circuit responds → Pump starts or stops
The exact operation depends on the float switch design and whether the installation uses a normally open (NO) or normally closed (NC) contact.
Because different float switches and pump control systems use different electrical arrangements, the wiring should always be checked against the specific product and control circuit rather than assuming that one wiring method applies to every installation.
What You Need Before Installing a Float Switch
Before starting the installation, make sure you have the appropriate components and tools for the particular application.
Float switch
Use a float switch that is suitable for:
- The liquid being monitored
- The installation environment
- The pump or control system
- Required switching levels
- Electrical requirements
- Cable length and configuration
Cable and cable protection
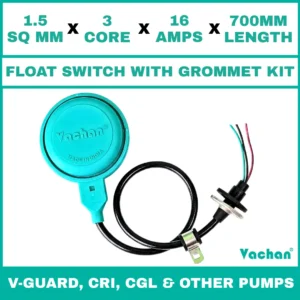
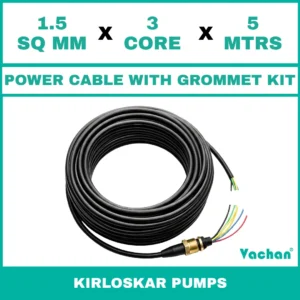
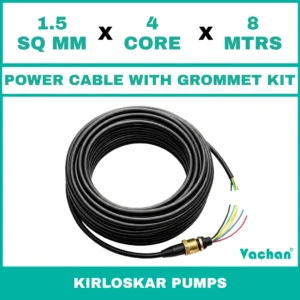
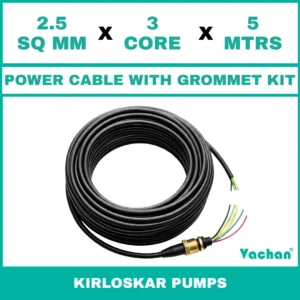
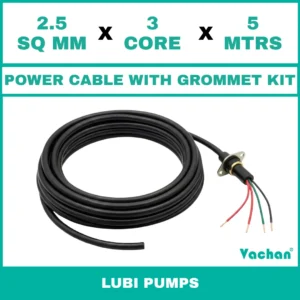
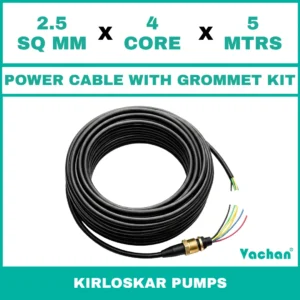
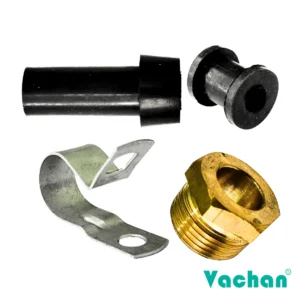
Depending on the installation, you may also need suitable cable protection, cable clamps, strain relief components or rubber grommets.
Cable-entry protection is particularly important in wet environments because moisture entering through an unprotected cable entry can affect electrical reliability.
Basic tools
Depending on the installation, you may require:
- Screwdriver
- Wire stripper
- Suitable electrical connectors
- Multimeter or continuity tester
- Cable cutters
- Mounting hardware
- Appropriate protective equipment
The exact tools and materials will depend on the pump and control-panel design.
Safety Precautions Before Installing a Float Switch
Working around water and electrical equipment requires particular care.
Before beginning:
- Switch off and isolate the electrical supply.
- Confirm that the circuit is de-energized before handling wiring.
- Do not work on exposed electrical connections while standing in water.
- Keep electrical connections protected from moisture.
- Follow the float-switch manufacturer’s wiring instructions.
- Follow the pump and control-panel manufacturer’s instructions.
- Use appropriately rated electrical components.
- Ensure cables cannot come into contact with moving pump components.
- Use a qualified electrician for mains-voltage wiring where required.
Never assume that a float-switch wire can be connected directly to a pump simply because the switch appears compatible. The required connection depends on the pump, control circuit, switch rating and NO/NC configuration.
How to Install a Float Switch Step by Step
Step 1: Switch Off the Power
Before touching the pump, float switch or wiring, disconnect the electrical supply.
If the float switch is already connected to a pump or control panel, isolate the relevant circuit and verify that it is safe to work on.
This is particularly important for dewatering pumps because they are often installed in wet pits, sumps or other environments where electrical hazards can be increased.
Do not begin installation until the electrical system has been safely isolated.
Step 2: Identify the Float Switch and Its Wiring
Before making any connection, identify the type of float switch you are installing.
Check the manufacturer’s:
- Wiring diagram
- Wire identification
- NO/NC configuration
- Electrical rating
- Cable specifications
- Installation instructions
Some float switches provide different contact configurations, while others may be designed for a specific control arrangement.
Do not determine wire function only by color unless the manufacturer’s documentation confirms it.
If the switch has common, normally open and normally closed contacts, identify each connection from the product documentation before wiring it into the control circuit.
Step 3: Choose the Correct Installation Position
The installation position determines how reliably the float switch will operate.
Select a position where:
- The float has sufficient room to move.
- The float will not hit the tank or sump wall.
- The float will not become trapped.
- The cable will not interfere with the float.
- The float will not contact the pump.
- Debris is unlikely to obstruct movement.
- The required pump ON/OFF levels can be achieved.
For a dewatering pump, consider the actual dimensions of the sump or pit and the location of the pump before fixing the float.
The float should be positioned according to the required operating levels rather than simply mounted wherever there is available space.
Step 4: Allow the Float to Move Freely
Free movement is one of the most important requirements for a reliable float-switch installation.
The float needs sufficient travel to reach its switching positions.
A correctly installed float should:
- Move smoothly through its operating range.
- Not touch surrounding walls.
- Not become trapped under pipes or cables.
- Not collide with the pump.
- Not become tangled with other equipment.
- Have sufficient vertical movement to operate the switch.
A float that is physically restricted may remain in one position and prevent the pump from responding correctly to changes in water level.
Correct installation
Free movement → Reliable switching → Predictable pump operation
Incorrect installation
Restricted movement → Incorrect switching → Unreliable pump operation
For installations in narrow sumps, extra attention should be given to the float’s travel path before finalizing the mounting location.
Step 5: Route and Secure the Cable
After selecting the float position, route the cable so that it does not interfere with float movement or other equipment.
Avoid:
- Loose loops that can become tangled
- Sharp edges
- Moving pump components
- Excessive tension
- Areas where the cable can be crushed
- Unprotected cable-entry points
Secure the cable using an appropriate mounting or strain-relief arrangement.
Do not pull the cable excessively to position the float. The cable should be routed securely while still allowing the float to operate through its required range.
In wet applications, cable-entry and sealing components such as suitable rubber grommets can help protect the cable and connection area from environmental exposure.
Step 6: Connect the Float Switch
Once the mechanical installation is complete, connect the float switch according to the pump or control circuit requirements.
The connection depends on:
- Float-switch configuration
- NO/NC arrangement
- Pump control logic
- Control panel design
- Relay or contactor arrangement
- Electrical ratings
Do not use a generic wiring diagram as a substitute for the manufacturer’s instructions.
For a detailed explanation of normally open and normally closed float-switch connections, see:
Float Switch Wiring Guide: NO vs NC
This should be treated as a separate technical topic because the correct wiring method depends on the actual control circuit.
Step 7: Protect the Cable Entry and Connections
In a wet environment, protecting the cable entry and electrical connections is essential.
Check that:
- Cable entries are properly secured.
- Appropriate grommets or sealing components are used where required.
- Connections are protected from direct water exposure.
- The cable is not under excessive mechanical stress.
- There are no exposed or poorly protected electrical connections.
This is particularly important for dewatering applications, where pumps and cables can be exposed to water, moisture, mud and other harsh operating conditions.
A properly protected cable entry can help reduce the risk of moisture reaching vulnerable electrical areas.
Step 8: Check the Float’s Operating Range
Before restoring power, manually move the float through its expected operating range.
Check that:
- The float moves smoothly.
- The switch changes state at the expected position.
- Nothing obstructs the movement.
- The cable does not restrict the float.
- The float does not strike the pump or surrounding structure.
Where appropriate and safe, a suitable electrical tester or multimeter can be used to verify switch continuity according to the manufacturer’s instructions.
Step 9: Restore Power and Test the Pump
Once the mechanical and electrical installation has been checked, restore power safely.
Observe the float and pump operation as the water level changes.
A proper test should verify that:
- The float moves correctly.
- The switch changes state.
- The control circuit responds correctly.
- The pump starts or stops at the intended level.
- The pump does not cycle unnecessarily.
- The float returns correctly when the water level changes.
If the pump does not respond as expected, switch off the system and inspect the installation, wiring configuration and float movement.
Float Switch Wiring: NO vs NC
What Do NO and NC Mean on a Float Switch?
NO means Normally Open, while NC means Normally Closed.
The terms describe the electrical state of the switch in its normal, specified position.
Normally Open (NO)
In a normally open configuration, the relevant contacts are open in the normal switch state. Movement of the float can cause the contacts to close, depending on the switch design and orientation.
Normally Closed (NC)
In a normally closed configuration, the relevant contacts are closed in the normal switch state. Float movement can cause the contacts to open, depending on the switch design and orientation.
Why does this matter?
The pump control circuit determines which switching arrangement is required.
Using the wrong contact configuration can cause the pump to:
- Remain off
- Remain on
- Operate at the wrong water level
- Behave opposite to the intended control logic
Therefore, always check the float-switch wiring diagram and the pump/control-panel requirements before making the connection.
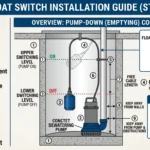
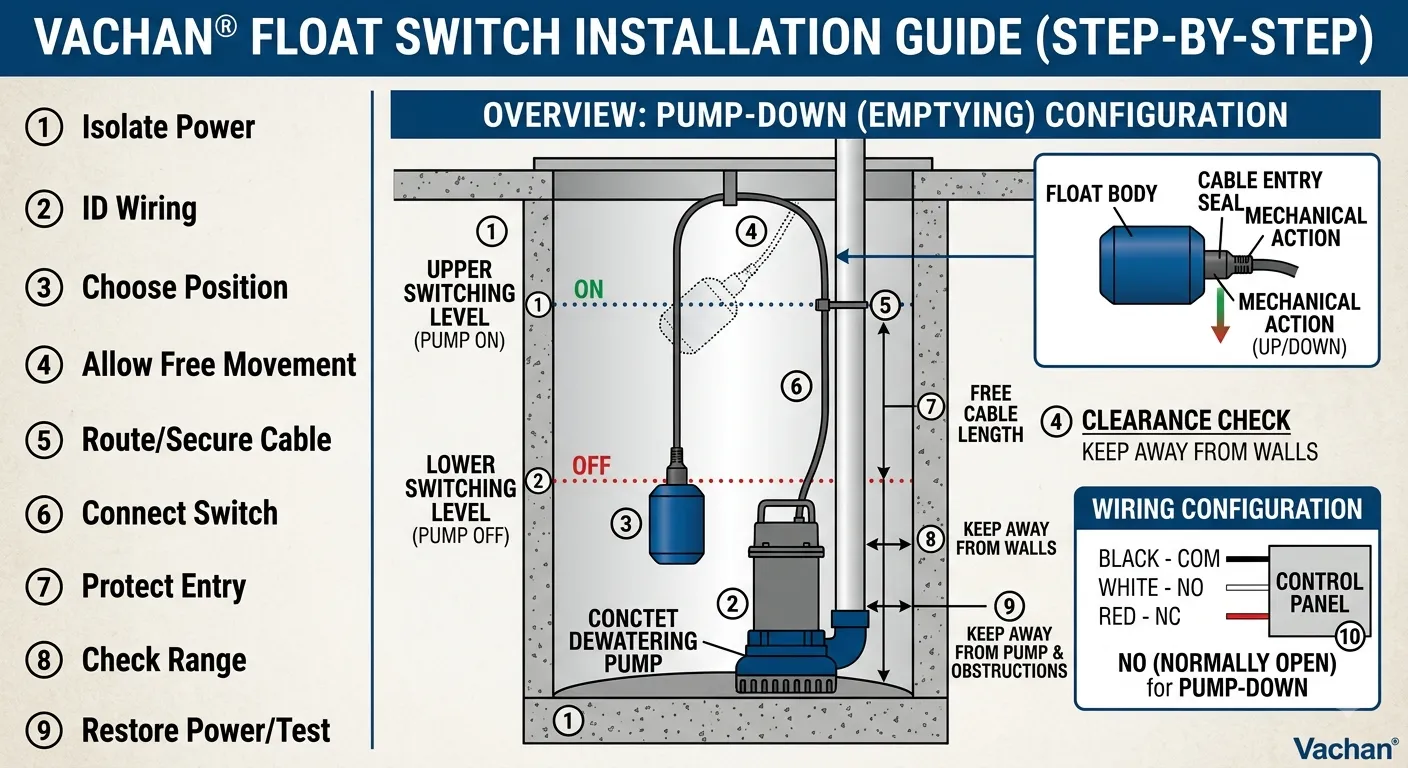
Float Switch Installation Diagram
A typical installation can be understood as:
Water level changes
↓
Float moves
↓
Internal switch changes state
↓
Control circuit receives signal
↓
Pump responds
The exact electrical connection varies according to the float switch and pump control system.
For a Vachan installation diagram, the visual should clearly show:
- Float switch
- Float movement
- Cable
- Mounting point
- Upper switching level
- Lower switching level
- Pump
- Control circuit
A visual diagram is especially useful because it allows an installer to understand the physical arrangement before beginning the installation.
Where Should a Float Switch Be Mounted?
A float switch should be mounted where it can move through its complete operating range without obstruction.
The exact location depends on the required water levels and the dimensions of the tank, sump or pit.
Before fixing the switch, consider:
1. Distance from the wall
The float should not repeatedly strike the wall as it moves.
2. Distance from the pump
The float should not interfere with the pump, intake or other moving components.
3. Cable movement
The cable should not become tangled around the float or pump.
4. Switching levels
The mounting arrangement should allow the float to trigger the required pump response at the desired water levels.
5. Debris
In wastewater and dewatering applications, debris can restrict float movement. The installation should minimize this possibility.
How to Install a Float Switch on a Dewatering Pump
Dewatering pump installations require additional attention because the pump may operate in pits, construction sites, drainage areas, sumps or other demanding environments.
When installing a float switch with a dewatering pump:
Keep the float away from obstructions
Pipes, pump bodies, cables and debris can restrict movement.
Protect the cable
The cable may be exposed to water, mud, movement and mechanical stress. Route it securely and protect vulnerable cable-entry points.
Allow sufficient float travel
The float must be able to move between its switching positions without becoming trapped.
Consider pump vibration and movement
The float and cable should not be positioned where pump movement can cause repeated impact or cable damage.
Check the operating environment
Select a float switch and cable arrangement appropriate for the liquid, temperature, installation environment and electrical requirements.
For demanding dewatering applications, correct installation is important because a failed or restricted float can affect automatic pump operation.
10 Common Float Switch Installation Mistakes
Even a suitable float switch can perform poorly when it is installed incorrectly.
1. Installing the float too close to a wall
The float can become restricted or repeatedly hit the wall.
2. Allowing the cable to become tangled
A tangled cable can prevent the float from reaching its switching position.
3. Installing the float near moving equipment
Contact with the pump or other equipment can damage the float or cable.
4. Using the wrong NO/NC configuration
Incorrect switching logic can cause unexpected pump operation.
5. Leaving the cable unsecured
Loose cable can become tangled, damaged or pulled during operation.
6. Poor cable-entry protection
An inadequately protected cable entry can expose the connection area to moisture.
7. Not allowing sufficient float travel
A restricted float may not reach the required switching positions.
8. Ignoring debris
Dirt, mud and other debris can obstruct float movement.
9. Failing to test after installation
A pump should not be considered ready simply because the float has been physically installed.
10. Installing an incompatible replacement switch
The replacement float must be suitable for the electrical and mechanical requirements of the pump/control system.
How to Test a Float Switch
Testing should verify both mechanical movement and electrical operation.
Mechanical test
Move the float manually through its operating range and check that it:
- Moves freely
- Does not become trapped
- Does not hit surrounding components
- Has adequate travel
Electrical test
Where appropriate, use a suitable test instrument according to the manufacturer’s instructions to verify that the switch changes state correctly.
Pump operation test
After safely restoring power, observe whether the pump responds correctly as the float moves through its operating range.
If the float moves correctly but the pump does not respond, the problem may be elsewhere in the control circuit.
Signs of a Correctly Installed Float Switch
A correctly installed float switch should provide predictable operation.
Check for the following:
- Float moves freely.
- Cable remains securely routed.
- Float does not hit surrounding equipment.
- Required switching levels are achieved.
- Pump responds correctly.
- Connections are appropriately protected.
- No excessive cable tension exists.
- Pump does not repeatedly cycle without a valid water-level change.
- Float remains stable during normal pump operation.
If any of these conditions are not met, inspect the installation before continuing normal operation.
Float Switch Still Not Working? Check These Things
If the pump does not respond correctly after installation, check the following:
| Problem | Possible area to inspect |
|---|---|
| Pump does not start | Wiring or control configuration |
| Pump does not stop | Float position or switching configuration |
| Float does not move | Mechanical obstruction |
| Pump cycles repeatedly | Switching range or installation position |
| Operation is intermittent | Cable or electrical connection |
| Float is stuck | Wall, debris or equipment obstruction |
| Moisture near connection | Cable-entry protection |
| Replacement switch behaves differently | Compatibility or contact configuration |
Always isolate electrical power before inspecting wiring or electrical connections.
For a more detailed troubleshooting guide, see Float Switch Not Working: Common Fixes.
When Should You Replace a Float Switch?
A float switch may require replacement when it no longer operates reliably or has sustained physical or electrical damage.
Common warning signs include:
- Intermittent switching
- Float movement becoming restricted
- Visible physical damage
- Damaged cable
- Water ingress
- Corrosion
- Failure during continuity testing
- Pump operation becoming inconsistent
- Float remaining in one position
- Incorrect switching despite proper installation
Before replacing the switch, confirm that the problem is actually with the float switch rather than the pump, control panel, relay, wiring or power supply.
When selecting a replacement, check the required mechanical dimensions, electrical characteristics, cable configuration and pump/application compatibility.
Frequently Asked Questions About Float Switch Installation
How do you install a float switch?
Install a float switch by first isolating the electrical supply, selecting an appropriate mounting position and ensuring that the float has unrestricted movement. Secure and route the cable, make the electrical connection according to the switch and pump-control requirements, protect the cable-entry area and test the float before placing the pump into normal operation.
How do you wire a float switch to a pump?
A float switch should be wired according to the pump’s control circuit and the float switch’s electrical configuration. Some systems use normally open contacts, while others use normally closed contacts. The correct connection depends on the switch, pump, control panel and required operating logic. Always follow the manufacturer’s wiring diagram rather than assuming that one connection applies to every pump.
Where should a float switch be installed?
A float switch should be installed where it can move freely through its required operating range. It should be positioned away from walls, pump components, pipes, cables and other obstructions. The mounting position should also correspond to the water levels at which the pump is required to start or stop.
What is NO and NC on a float switch?
NO stands for Normally Open and NC stands for Normally Closed. These terms describe the electrical state of the switch in its normal position. The appropriate contact configuration depends on the pump control circuit and how the float is intended to operate. Always refer to the switch’s wiring information before making an electrical connection.
How do you test a float switch?
First, check that the float moves freely without mechanical obstruction. Where appropriate and safe, use a suitable electrical tester or multimeter according to the manufacturer’s instructions to verify that the switch changes state. After the installation has been safely energized, test the complete pump-control system to confirm that the pump responds at the intended water levels.
Why does a float switch get stuck?
A float switch can become stuck because of contact with a tank or sump wall, debris, cables, pipes, pump components or an unsuitable installation position. Excessive cable loops can also interfere with movement. In wastewater and dewatering applications, regularly checking the float’s movement and surrounding area can help identify mechanical obstructions.
Can a float switch be used with a dewatering pump?
Yes, float switches can be used for automatic control or level detection in suitable dewatering pump systems. However, the float switch must be compatible with the pump’s control circuit, electrical requirements and operating environment. The installation should also provide adequate float movement and protect the cable and connections from the conditions present in the dewatering application.
How do I know if my float switch is faulty?
A float switch may be faulty if it does not change state correctly, operates intermittently, remains stuck, has visible physical damage or fails an appropriate electrical test. However, similar symptoms can also result from incorrect wiring, a damaged cable, a control-panel problem or a mechanical obstruction. Check the complete installation before replacing the switch.
Can I replace an existing pump float switch?
An existing float switch can often be replaced, but the replacement should match the required mechanical, electrical and application specifications. Check the switch configuration, cable arrangement, electrical rating, dimensions, operating range and compatibility with the pump or control system before selecting a replacement.
How much cable should be left for float movement?
The required cable length and free movement depend on the float-switch design, installation method and required switching levels. There should be enough movement for the float to operate correctly without the cable becoming tangled or restricting the float. Follow the specific manufacturer’s installation instructions rather than using one universal cable length for every float switch.
Looking for a Reliable Float Switch?
Choosing the right float switch is only the first step. The switch must also be suitable for the pump, application, electrical control system and installation environment.
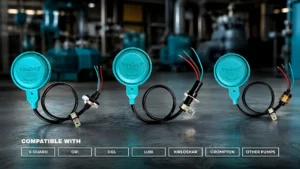
Vachan® Float Switch solutions are designed for applications including pump automation, water-level control and dewatering systems, with product configurations available for different installation and pump requirements.
If you are replacing an existing float switch or selecting one for a new pump installation, provide the pump brand/model, application, required quantity and existing switch details to help identify a suitable solution.
[Request a Quote]
Related Float Switch & Pump Guides
Continue learning with these Vachan technical guides:
- Float Switch Wiring Guide: NO vs NC
- Why Your Dewatering Pump Keeps Running
- Float Switch Not Working: Common Fixes
- Signs Your Float Switch Needs Replacement
- How to Replace Rubber Grommet for Lubi/Kirloskar Pumps
- Round vs Rectangle Float Switch: Which One Should You Choose?
Conclusion
Installing a float switch correctly involves more than simply placing the float inside a tank or sump. The switch must be positioned so that it can move freely, the cable must be routed and protected properly, the electrical connection must match the pump-control circuit, and the complete system should be tested before normal operation.
For dewatering pumps and other demanding applications, particular attention should be given to float movement, cable protection, moisture exposure, debris and pump compatibility.
A correctly selected and properly installed float switch can provide dependable liquid-level detection and help automate pump operation.
If you need a float switch for a specific pump, dewatering application or replacement requirement, contact Vachan® with your pump and application details for assistance in identifying the appropriate product.